Quick Summary
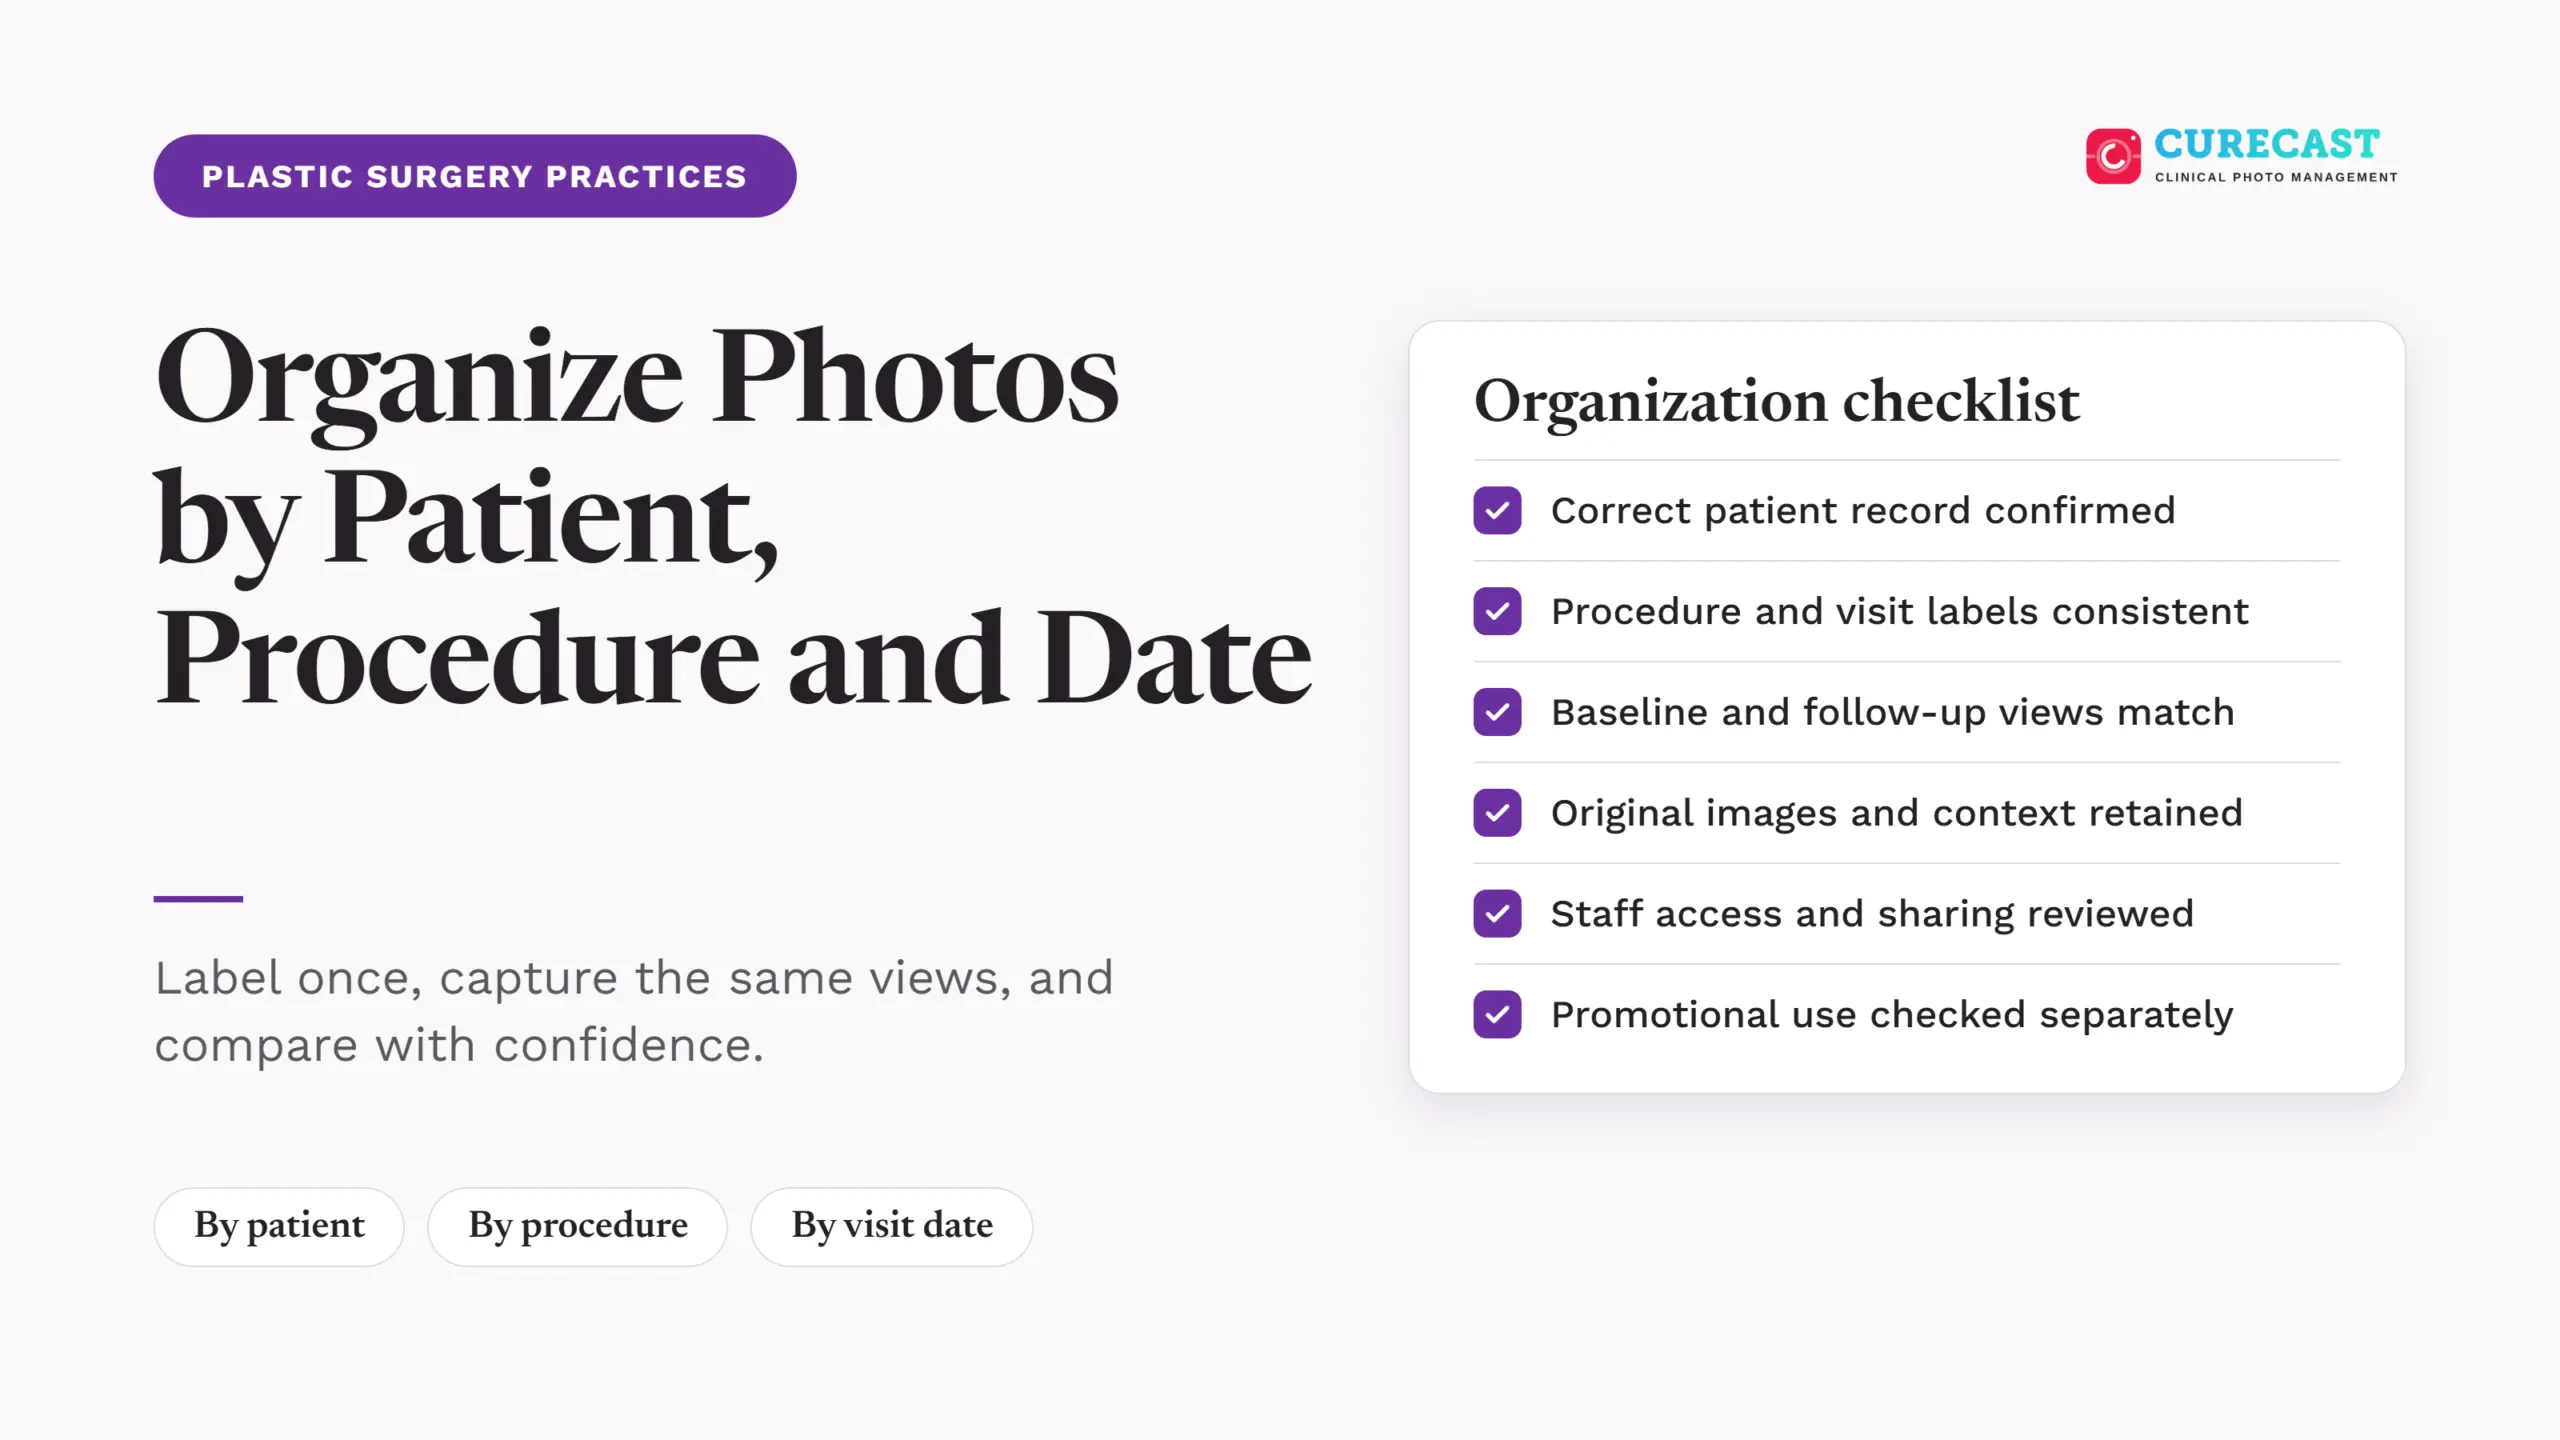
Organize patient photos by patient, procedure and visit date, then capture a consistent set of views at each appointment. This makes it easier to retrieve the right record, compare recovery over time and prepare for a consultation.
In a plastic surgery clinic, patient photos are used to record the patient’s condition before treatment, track recovery and compare results over time. Keeping these photos organized helps your team find the right images without searching through personal phone galleries.
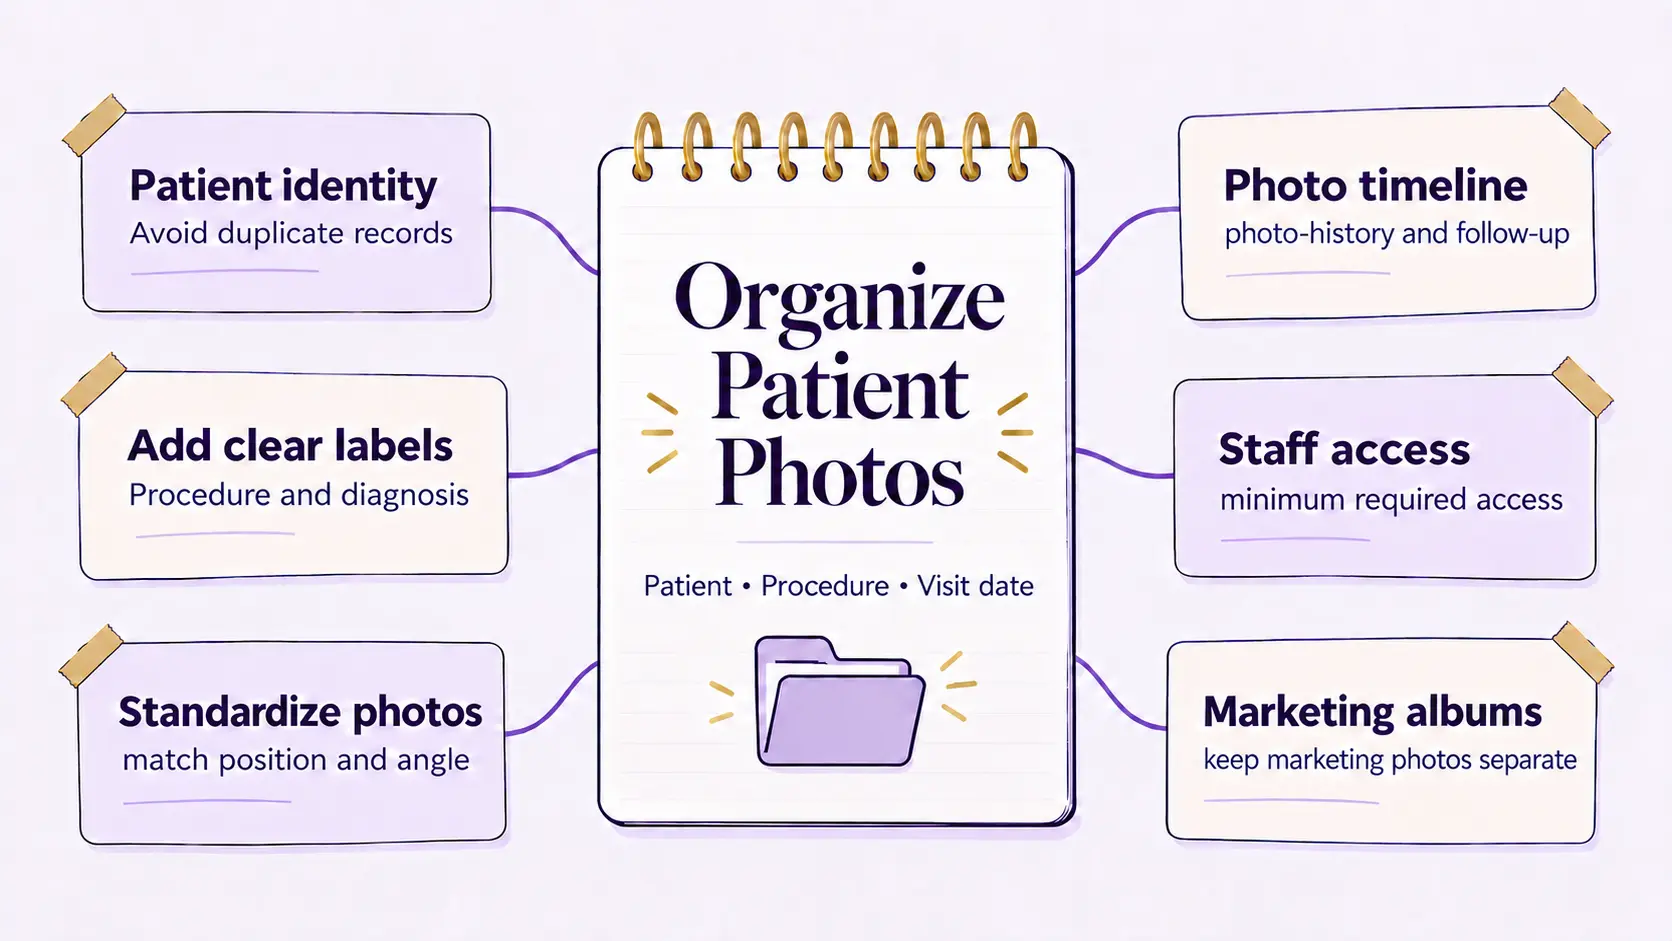
1. Start with the correct patient record
Confirm the patient’s identity before capturing or importing photographs. Keep the original images connected to the correct patient record. Do not identify a patient only by their appearance or a procedure name.
Decide who will check uploaded photos and what staff should do if a photo is saved to the wrong patient record. A consistent checking of each photo when it is saved, helps keep patient records accurate and prevents photos from being mixed up between patients.
2. Use consistent procedure and visit labels
Choose treatment names your whole team understands. For example, use one agreed label for rhinoplasty rather than several spellings. Add the visit date and a clear baseline or follow-up label.
Record procedure details where relevant, such as primary or revision rhinoplasty. Keep labels useful and manageable. Too many overlapping labels can make searching harder.
3. Capture comparable views at follow-up
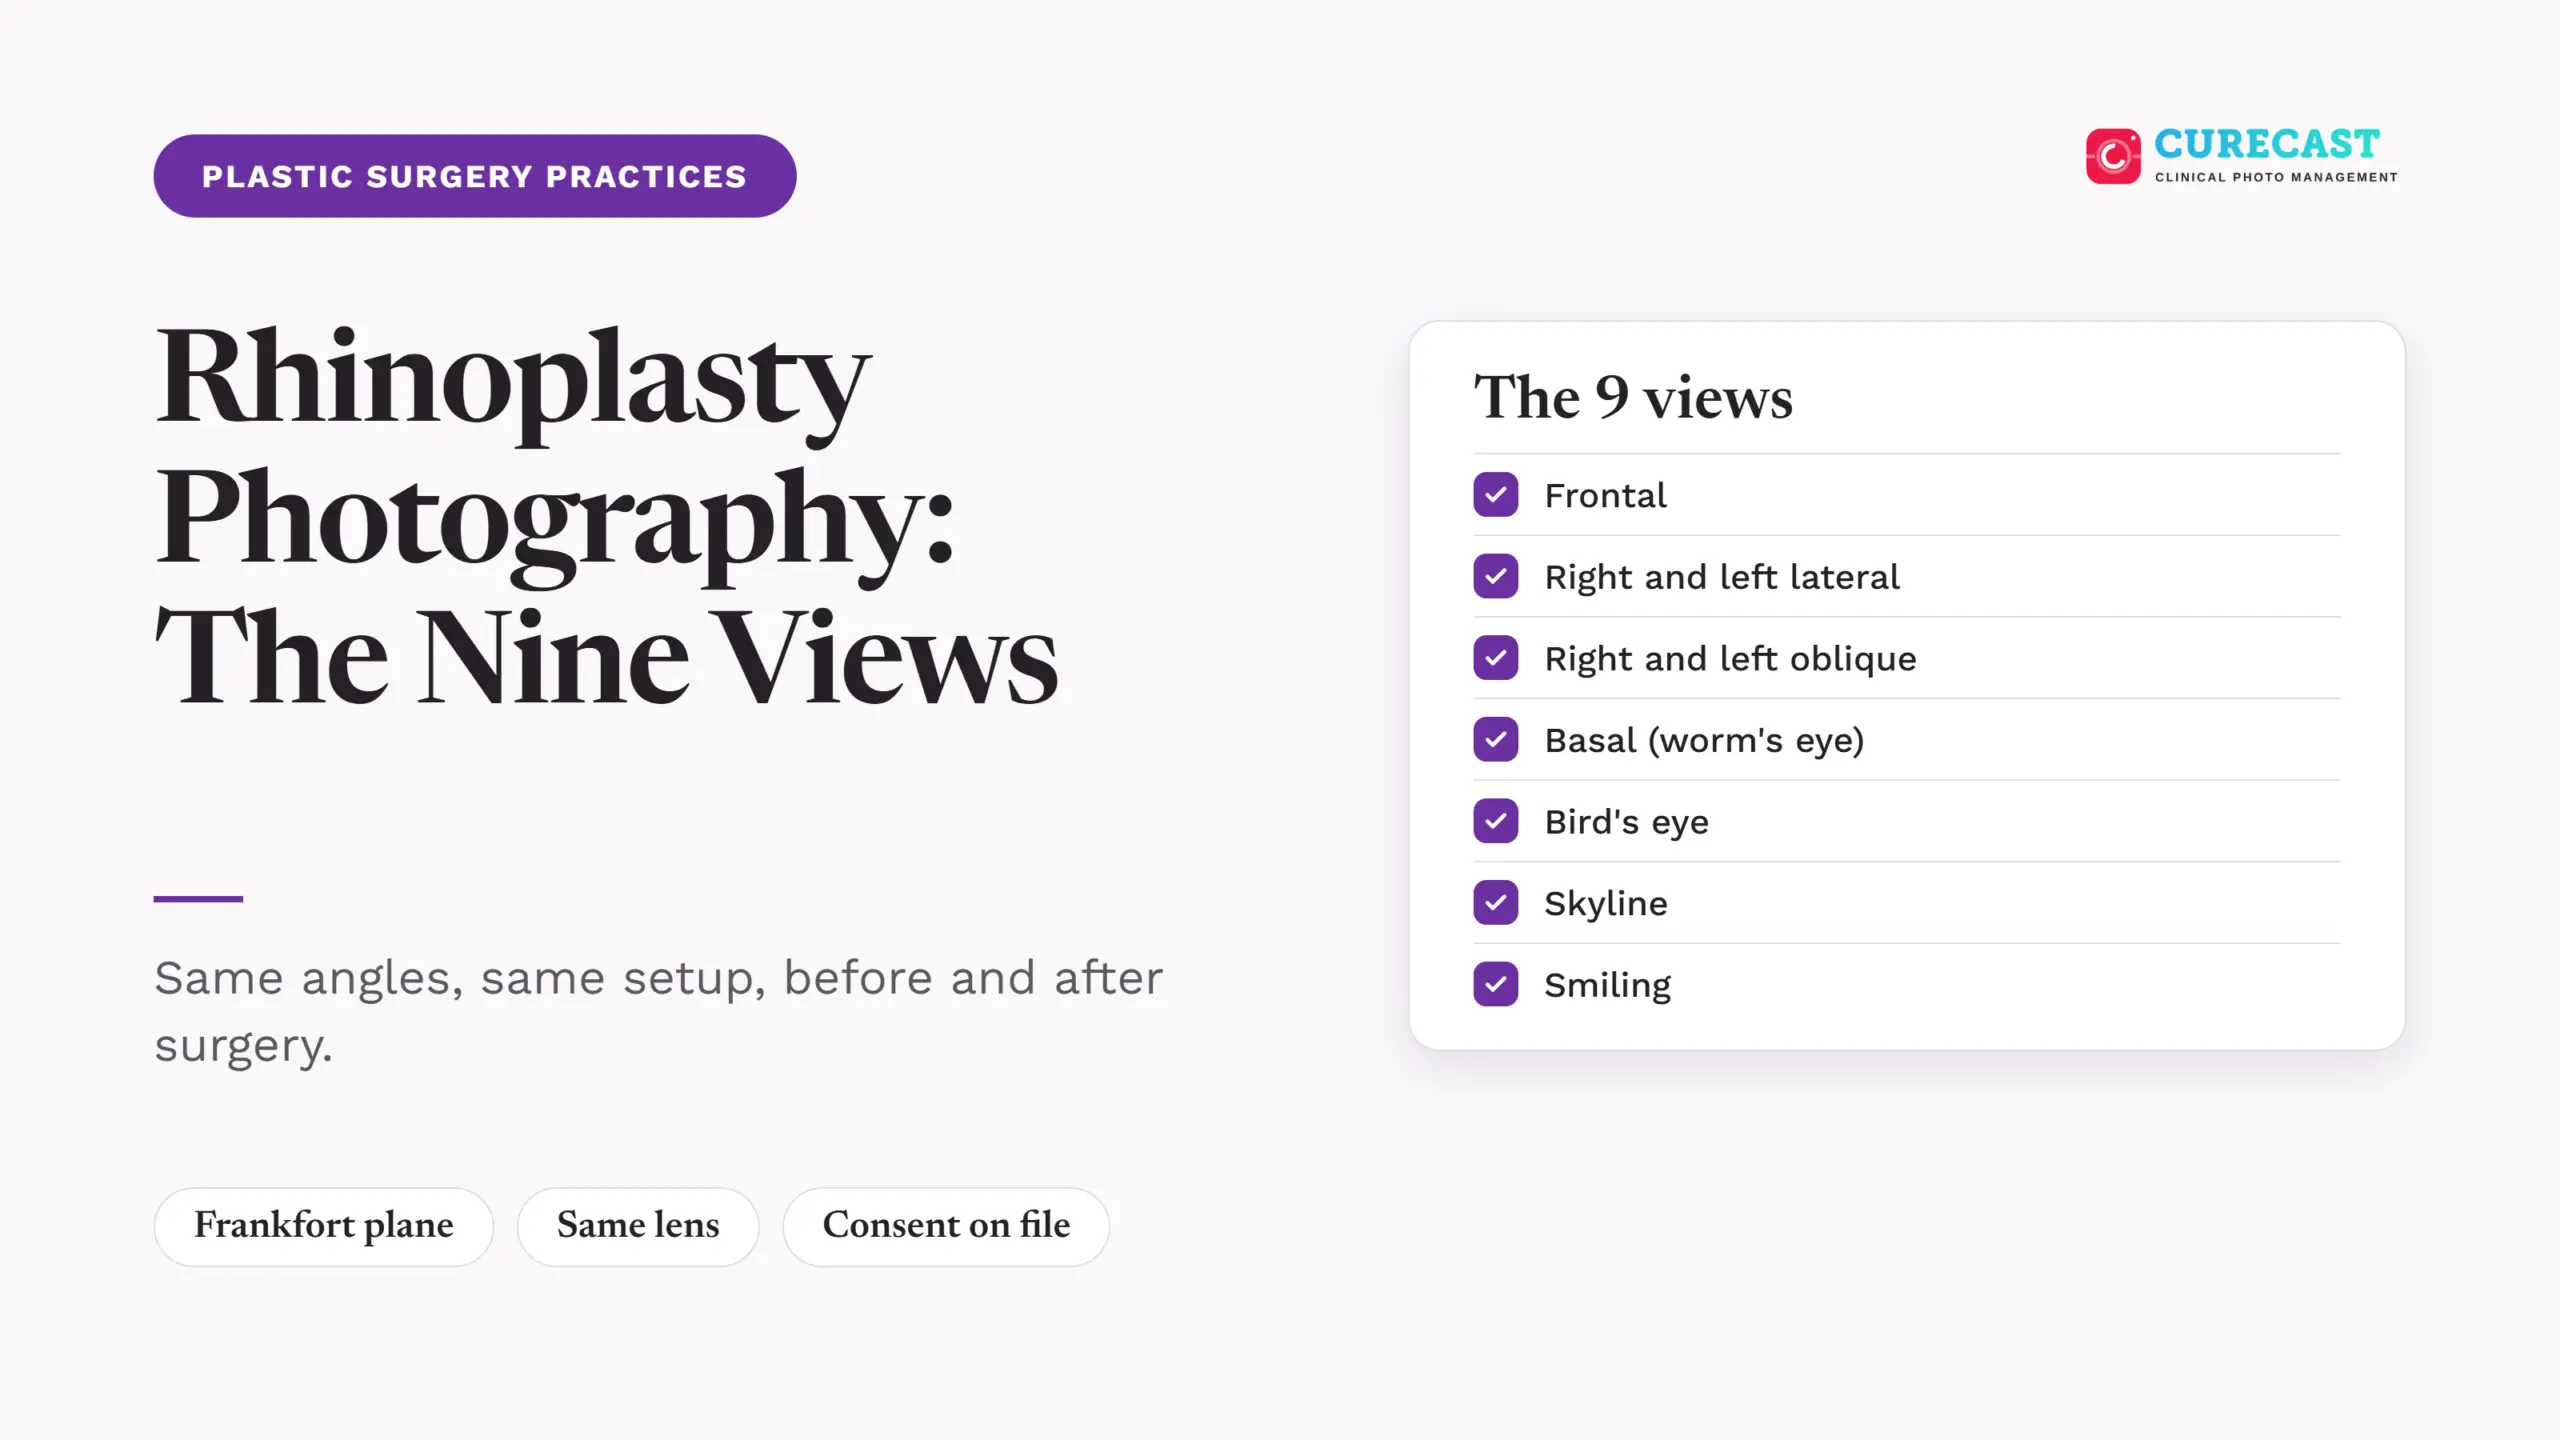
Choose the views needed for each procedure and repeat the position, distance, framing and lighting where practical. In a rhinoplasty series, compare matching profile views rather than mixing a profile photograph with a three-quarter view.
Consistent capture helps the team review photographs fairly. Healing stage, expression and lighting can still affect how an image looks. See our standardized clinical photography guide.
4. Keep the photo timeline clear
Review photographs in visit order before choosing a comparison pair. Select matching views and retain the original images. Keep the treatment and follow-up context with the clinical record so the comparison has an explanation.
For example, a baseline image and an early post-operative image answer a different question from a baseline and a later follow-up. Always check the dates when comparing photos and discussing a patient’s progress. Explore before-and-after photo management.
5. Review staff access and sharing
Give each staff member access to patient photos based on their job. Review these permissions whenever their responsibilities change. Make sure everyone knows where to save clinical photos and which methods they are allowed to use when sharing them.
If your practice must follow HIPAA, check that your clinical photo app provider offers a Business Associate Agreement (BAA) before using the app to store or manage electronic patient health information. Your practice must also assess security risks and put appropriate safeguards in place. Encryption helps protect patient information, but it is not enough on its own. For more information, read the HHS guidance on cloud computing and CureCast’s US HIPAA workflow overview.
6. Separate clinical records from promotional selections
Patient photos taken for treatment should not be used on your website or social media without checking the patient’s permission first. Confirm its intended use and applicable authorization requirements before selecting patient information for marketing.
Decide who is responsible for checking patient consent and who gives final approval before a photo is published. See HHS marketing guidance and our patient consent form information.
7. Test the process during a consultation
Ask a staff member to find a patient’s baseline image (a photo taken before surgery), their most recent follow-up photo and a similar procedure example. Check whether missing labels, inconsistent photo angles or access restrictions make these photos difficult to find. Fix these problems before adding more photos to your library.
CureCast’s plastic surgery photo management software brings photo organization and before-and-after comparison into the consultation workflow. Explore the clinical photo app or book a demo to review how it fits your team’s process.